Hot Tips: Planting, Transplanting and Dividing Plants
- Words by
- Jac Semmler
- Images by
- Jac Semmler
There is joy in the simple act of getting your hands in the ground and planting; satisfaction in having garden gaps filled; thrill in anticipating new growth and flourishing in the seasons to come.
Ideally, the planting location is permanent – the right location for the plant to flourish for its whole lifecycle. But the pleasure of gardening is in the process, and garden dreams and schemes change over the seasons. I continually change my home garden, Heartland, as I learn and ponder. I’m always trying new plants and moving established ones around. You can easily transplant most younger plants into alternative positions with good timing and care. Gardening is literally a moveable feast!
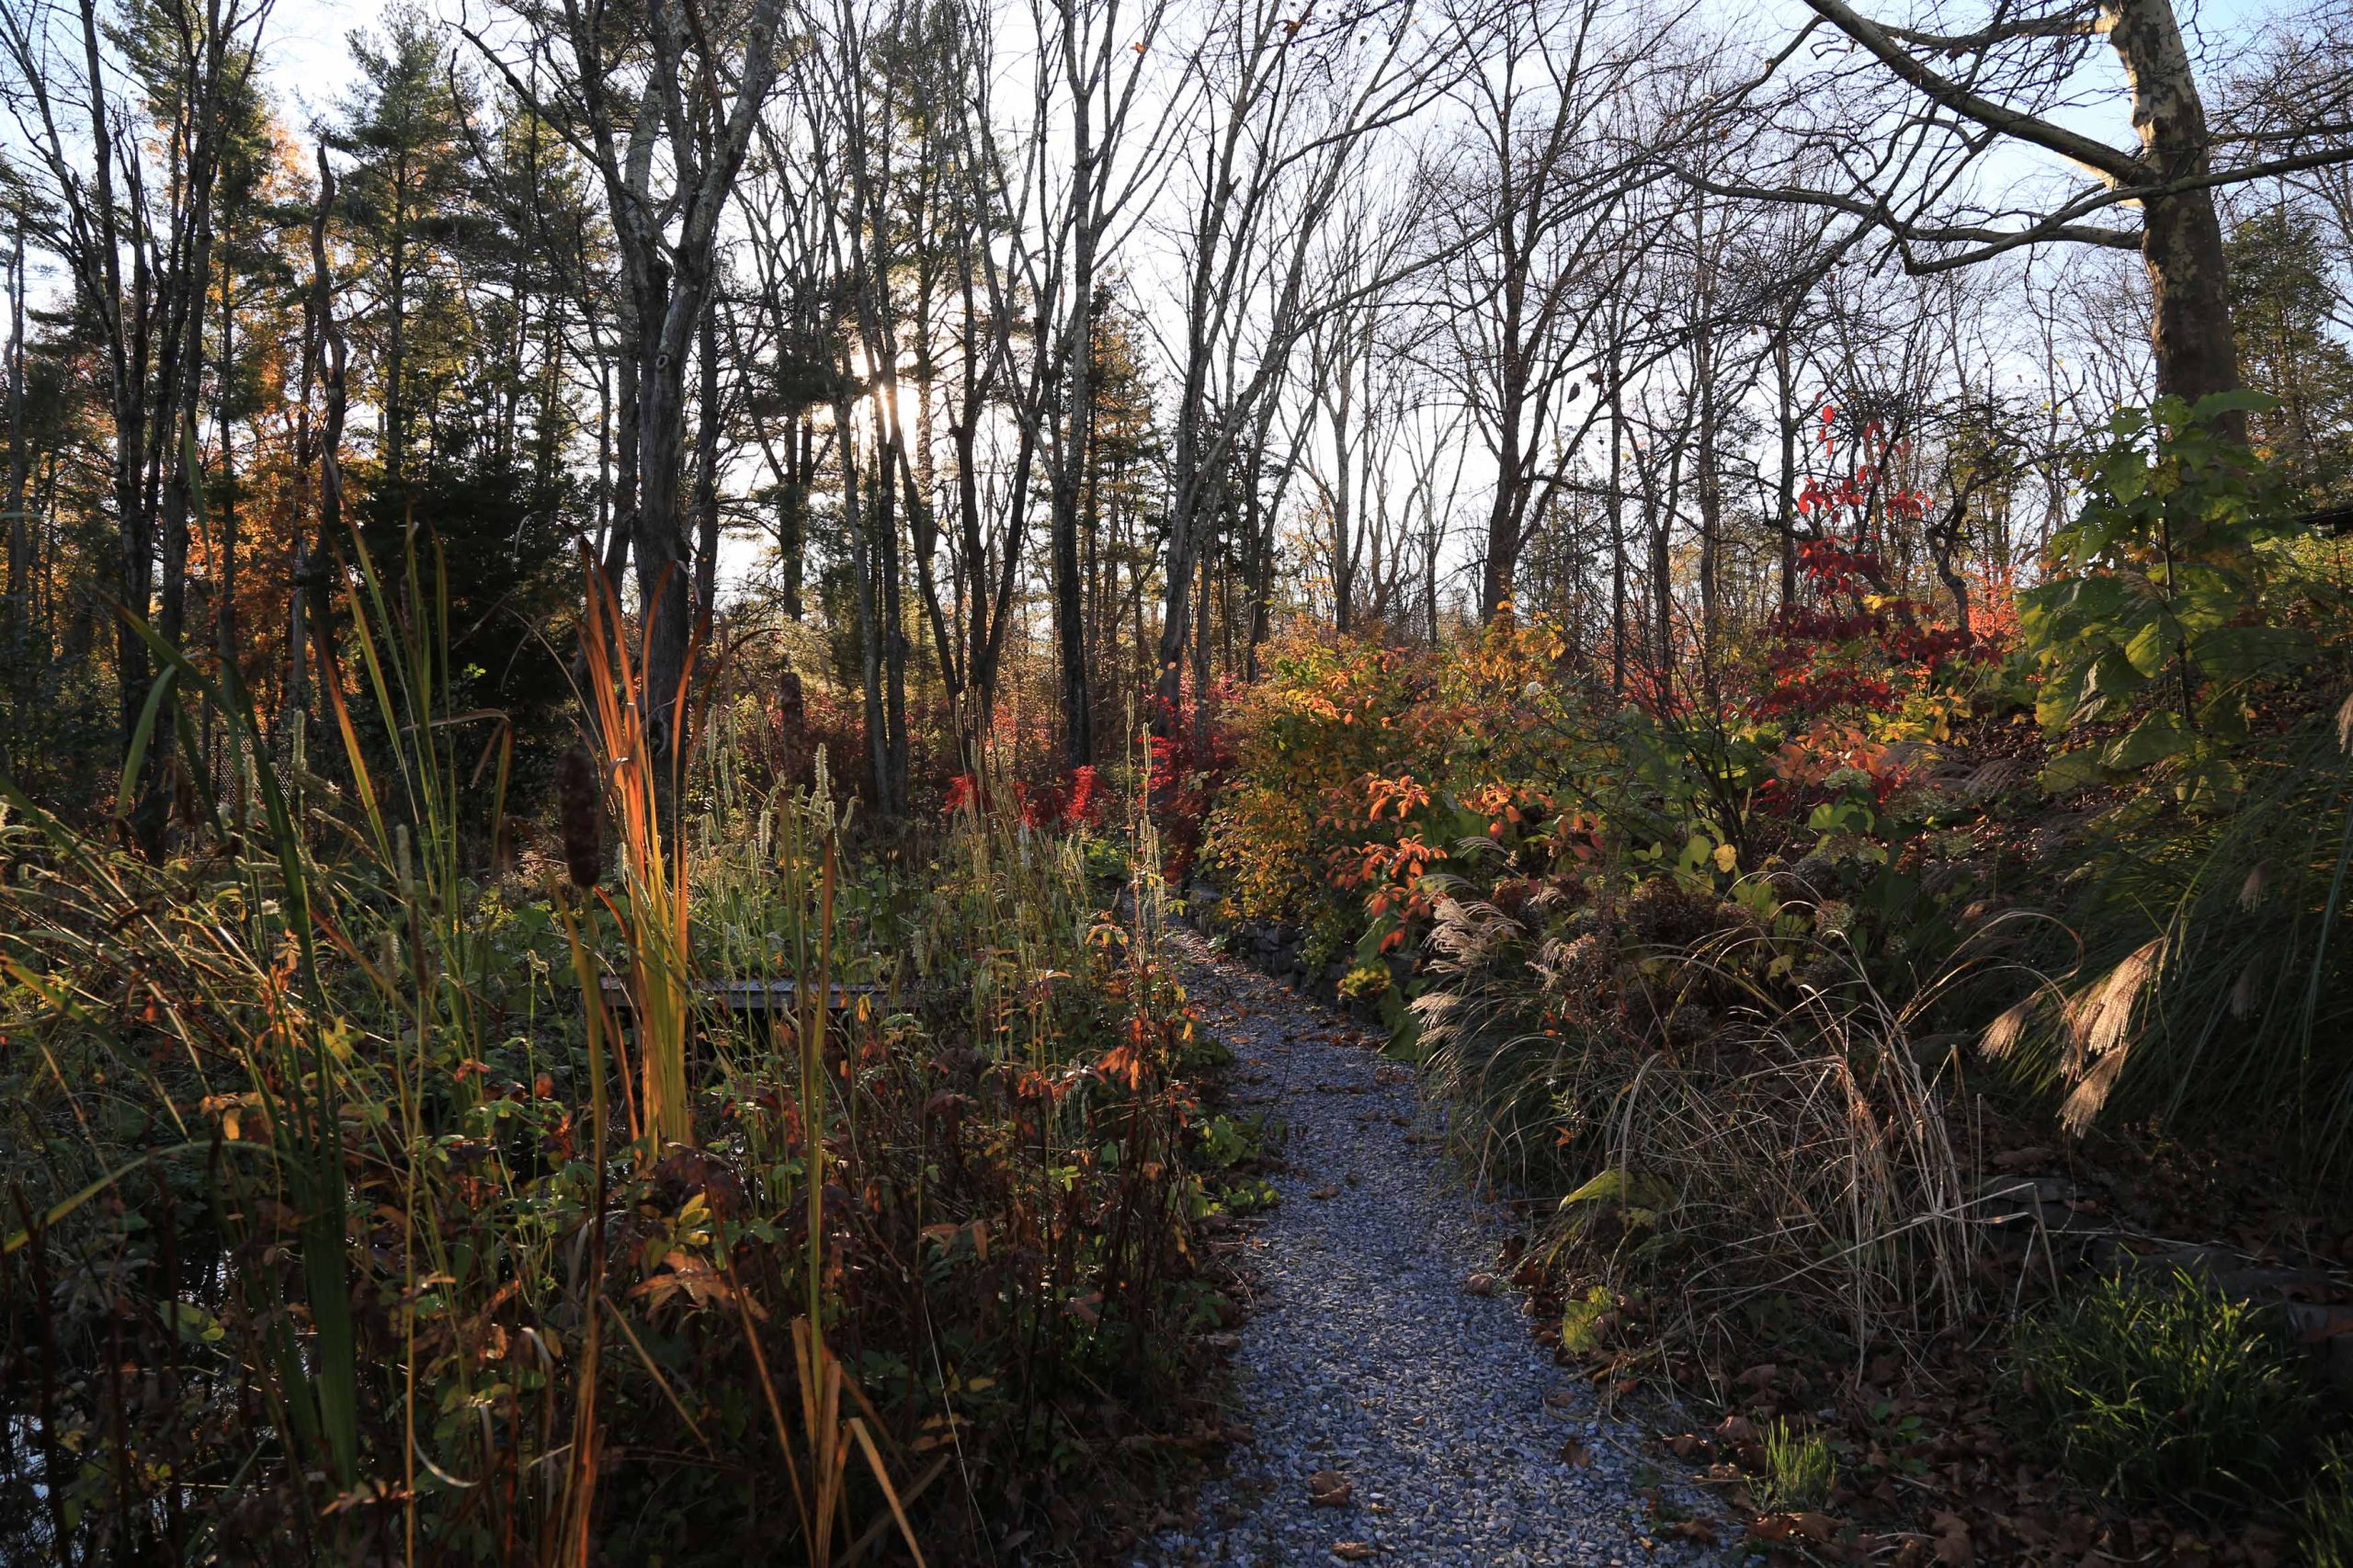
In late summer and autumn, I always feel an almost obsessive planting fever coming on. I’ve learned the lessons from the previous year and am raring to get cracking on the tweaks and dreams I’ve been scheming for my garden. Autumn is a friendlier time for planting than summer – plants are preparing to enter their dormancy and the weather is cooler, which means a plant’s transpiration rates are lower and there’ll be less stress when their root system is disturbed from planting and transplanting.
Whilst autumn and spring are great times for planting, with the right care and consideration you can successfully plant and transplant plants year-round, though avoiding extremes in temperature.
Pointers on Planting
Prepare the plant
The root system is like the engine room, driving transpiration in plants. When a plant’s root system is disturbed, plants can experience ‘transplant shock’, where growth slows for a short period of time and leaves can sometimes wilt. The plant has had a bit of a surprise and enters a state of shock before recovering. This is why, when planting, it best to avoid disturbing the root system as much as possible.
Before planting, you can soak the plants’ root system in water with a dash of liquid seaweed. This acts as a tonic for the plant, stimulating the root system ahead of planting. Soak in a tub or wheelbarrow with water up to the plants’ potting mix level for no longer than 24 hours or overnight. The plants are then well hydrated and ready to start life in a new position.
Prepare the position
Preparation before planting helps the plant flourish. Always dig the hole much larger than the plant, incorporating the soil with organic matter. Also, water the hole well, ensuring the surrounding soil is hydrated for the plant.
Plant!
Depending on the size of the plant, upend the plant into your hand or if larger, tilt the pot on an angle to slide the plant out and into the planting hole. The level of the top of the potting mix ideally matches the ground level of the soil and should not be higher or lower. If the roots are very dense or root bound, where the plant roots wind around the base of a plant, you can lightly tease the roots a little at the base and make a couple of cuts down the root system so roots will redirect into the surrounding ground rather than around the plant.
Do not press around the plant
Avoid the temptation of pressing around the base of the plant. This reduces the air holes and compacts the soil around the plant. Air holes in soil are great for the root system to establish and develop. Carefully watering the plant after planting will settle the soil for you rather than compressing the soil with your hands. Once the soil has settled, it can be topped up if the soil level has sunk around the plant.
Water your plant
Watering the plant well and regularly – where the water penetrates the soil to the base of the root system and beyond – will encourage the roots to head down and establish widely. Adding a dash of seaweed liquid to the watering can support the root system and reduce transplant shock.
The same techniques apply in planting a plant into a planter. Use the best quality potting mix you can afford. Good quality potting mix will already have organic matter within it.
Pointers on Transplanting
Transplanting is simply and swiftly moving the position of a plant already growing in your garden. It may be some delightful ‘volunteers’ that have self-seeded in your garden (a thrill!), dividing a perennial or changing the location of smaller shrubs. If the plant is deciduous, it is best to transplant while it is slumbering over winter. Once it awakens in spring it will start growing in its new position. Plants with deep tap roots, like many euucalypts, some Apiaceae members like parsnip and Queen Anne’s lace, are harder to successfully transplant if the root system has to be severed. The younger and smaller the plant, the more successful the transplant can be. But don’t let this put you off more ambitious moves of larger plants.
There are many easily transplantable plants including including perennials like salvias, agastache, achillea, as well as lumping plants like grasses, canna, crocosmia and self-seeded annuals.
Preparing plant and position
All the same pointers of ‘planting’ a plant apply to transplanting a plant. Water the plant well and deeply and prepare the hole well before starting the transplant.
Digging up the plant
When transplanting, your aim is to dig around the plant’s root zone so the plant can be dug up with as much root system intact as possible. This may mean inserting a sharp spade deeply around the permitter of the plant and gradually levering the root system up, or utilising a fork to loosen the plant out of the soil in a clump. A hori knife or small hand shovel can do the trick for smaller plants. With larger plants, get a helping hand to lift the clump onto a tarpaulin then you can carry the tarp on opposite sides and move the plant to the hole. Care, too, for your tender back and arms.
If the clump is dry beneath, it can be worthwhile again soaking the root zone in a wheelbarrow or a tub with a dash of seaweed before planting.
Reduce the foliage to match the root system
Prune the plant to reduce the quantity of foliage so the plant appears ‘balanced’ above and below the ground. This helps the plant establish well. By pruning off some of the foliage, the reduced root system has less foliage to support. If the plant you are moving is a herbaceous perennial give it a hard ‘cut back’, pruning the foliage to ground level before moving the plant, making the whole transplanting process easier to see and handle.
Divide and Conquer?
If you are planting or transplanting plants it is worthwhile considering whether you can divide the plants at the same time and increase your plant numbers. For example, many clumping plants, especially herbaceous perennials, can be separated into two, three even more clumps to spread in your garden. Salvia nemarosa varieties are a perfect example, as are grasses like Themeda triandra and other clumping plants like red hot pokers (Kniphofia spp.).
Once the root zone has had a soak and you have removed the plant from the pot or lifted the clump out of the ground, look to the base of the plant. There should be foliage coming from several places from the root zone. Now using a hori knife or secateurs, you want to insert the knife down into the centre of and lever, separating the clump. Prise or cut the plant into several smaller clumps so that each clump has some foliage and a corresponding piece of the root system. You have now divided the plant and the smaller pieces can be planted or potted to share.
Planting and transplanting are both fulfilling and optimistic practices in the garden, and straight forward to undertake. Don’t let fear hold you back from moving that plant to a new location. With plenty of care and consideration, you will both be happier for it.
–
End
- Author
-
Jac Semmler is foremost an experimental gardener and plant lover. Known for her big laugh, Jac tends her specialist plant practice Super Bloom which brings dynamic living beauty and diversity to urban, landscape and creative projects. When not cultivating her own Heartland garden in south-eastern Australia, Jac ponders the questions and intersections on plants, art and identity, experimenting and contributing to the next generation of Australian gardening possibilities. INSTAGRAM